
Please read this before seeing the tutorial:
• In this tutorial, I’m using Goorm IDE for terminal (CLI). Why not using regular cmd or termux? I think common people will be confused with installing python, heroku, and some other modules. In Goorm IDE, python and heroku have been installed automatically in the container, so they won’t face this problem. Oh and if there is a missing module in the container, it’ll be easier to install it since everyone is in the same state and it’ll be a common problem that is easy to solve with one solution. Btw, Goorm IDE is only for PC. These steps actually can be executed with every CLI out there including termux, but I won’t give you the tutorial for that, so try it on your own risk.
• I do think CLI deployment is better for newbies since many newbies just fork the repo and expose their credentials and token files in GitHub which is a security concern. CLI deployment uses locally (or if in our case, locally inside private Goorm IDE container) for the storing the repo.
• The repo I’m using here is Slam Mirror Bot repo, you can implement it on another mirror bot repo, but then again, I won’t give you the tutorial for that.
• The tutorial here is made with a fresh google account and a fresh heroku account. So if you have created oauth or credentials, or even token file, just skip the steps regarding those things. If you have ever made them, you should know what steps you need to skip.
• There are 3 things I’ll be tutoring here. How to setup the mirror bot normally; How to setup service accounts to your bot if you want (optional); and How to update or redeploy the heroku app when you’ve done any change in the repo.
• This tutorial is noob-friendly and has been tested by me and it works for me all of the time. But well, there’s a possibility that this tutorial won’t be able to be followed anymore, so don’t blame me for that. This is not a perfect tutorial for deploying mirror bot, this is my version of it that I believe can be followed by others easily. If you have a better way to do this, then you’re welcome to not follow this tutorial.
• The service accounts tutorial here is meant for you all after you deployed the mirror bot through this tutorial, and it works perfectly. You can implement it in another situation, i.e. when you used GitHub deployment instead, but then again, try it on your own risk and I won’t give you the tutorial for something outside this.
• You may want to change the commands of the bot or the interface of the bot, read the notes of the support group and do ask nicely there about how to do it. But besides the location of the code you need to edit, I advise you to learn a bit of python so that you know about something that can be edited without error, i.e. string type code and something that you cannot do in any way, i.e. removing a line whatever you want and ceasing the bot to boot.
• Ok then, that’s it. And the last but not least, don’t share this tutorial publicly, keep it to yourself. More abusers means more chance for the repo getting banned. Keep that in your mind, don’t ya?
Contents
#TUTORIAL 1
MAKING A MIRROR BOT
What do you need before processing?
• Google account
• A team drive where your google account is a manager in there (if you don’t have it, ask someone in the support group of the repo or whoever you wanna ask, just don’t ask me via PM for this lil’ thing)
• Heroku account (make it in heroku.com)
• IDE Goorm account (make it in ide.goorm.io)
Let’s get started, ya fellow humans.
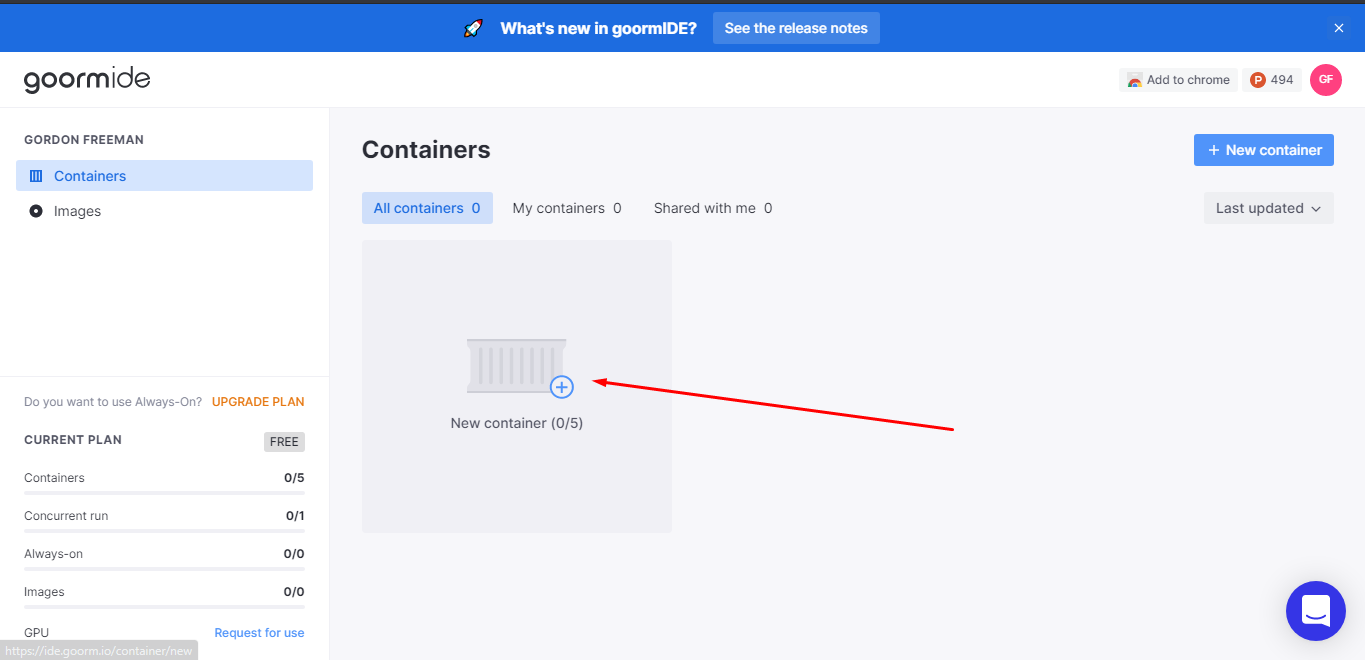
1) Go to ide.goorm.io and log in to your acc, go to dashboard, press New Container.
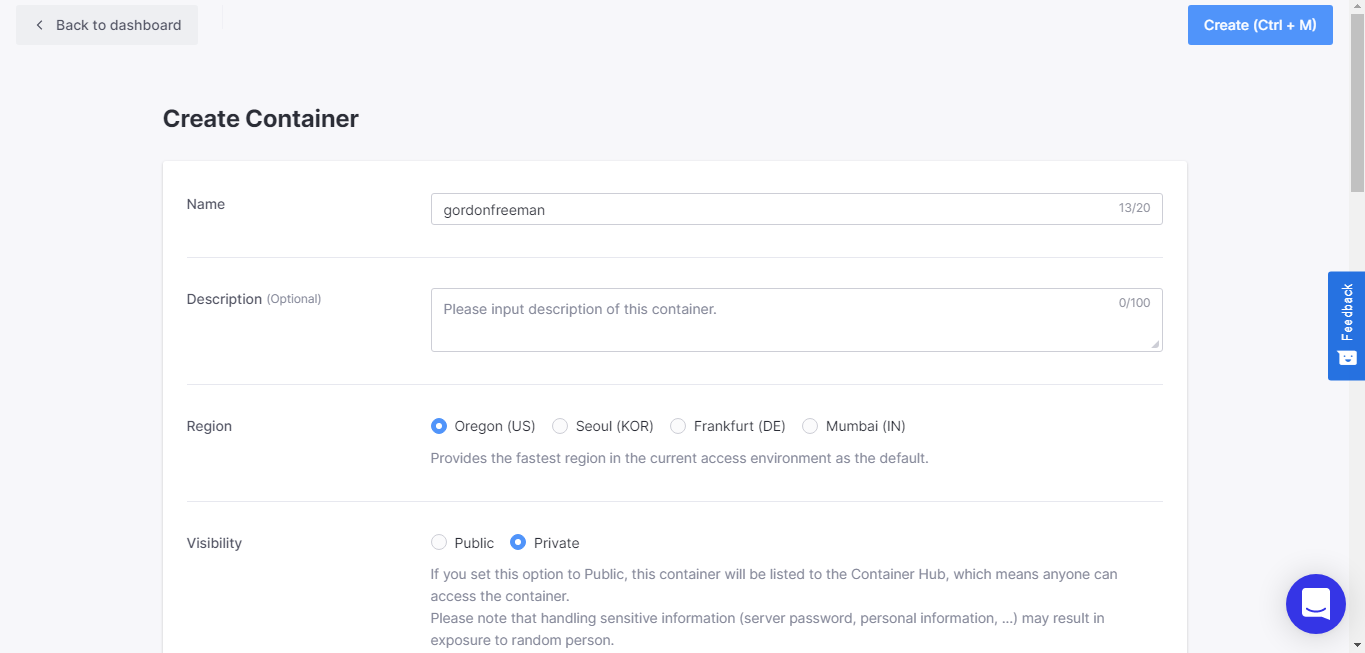
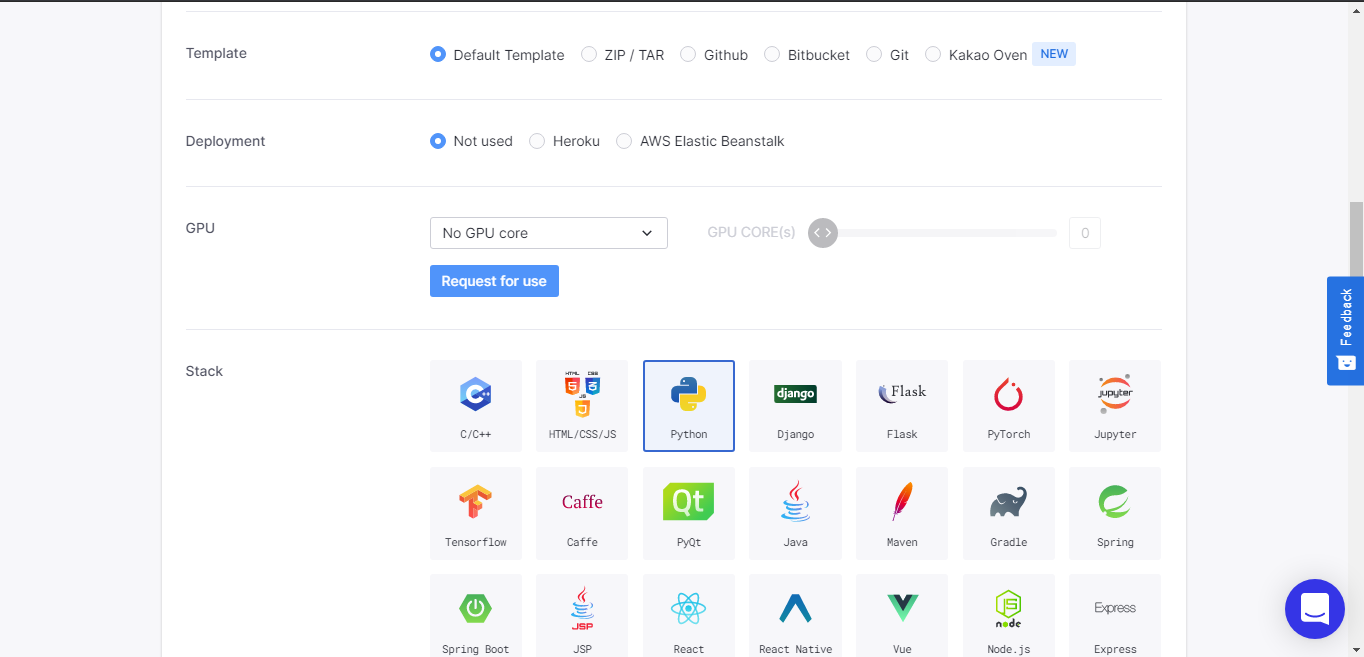
2) Use whatever name, use whatever server region, make it private, and select python stack, and press Create. Ignore other configs.
3) Wait until it’s done, and run the container.

4) A new tab will be opened.
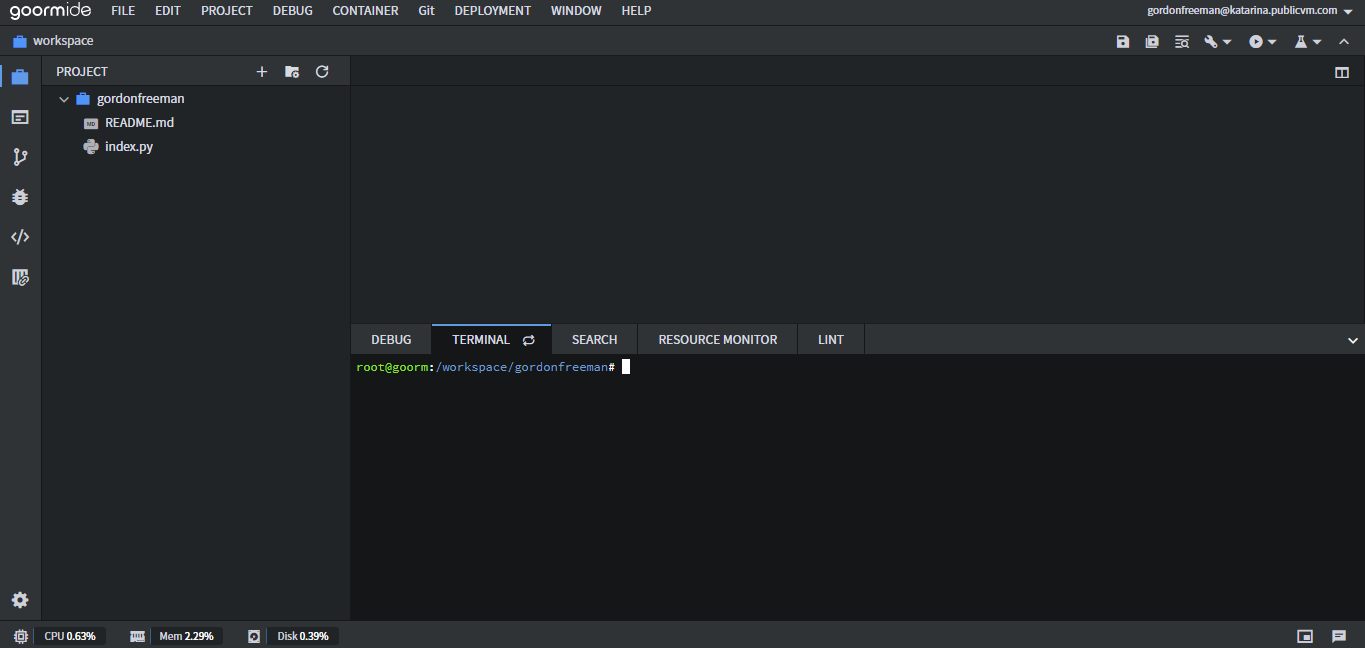
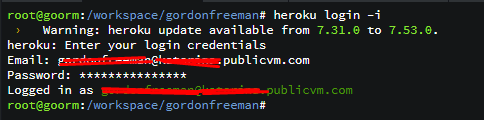
5) Type this in the terminal and login to your heroku acc.
heroku login -i
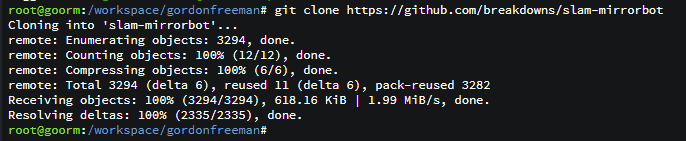
6) Okay, the tutorial gets hot here. Let’s clone the repo to the container first.
git clone https://github.com/breakdowns/slam-mirrorbot
7) A new folder will be created, right click on the folder and open the terminal with that location. You have to make sure that the terminal is always running in the repo directory or else, nothing will work.
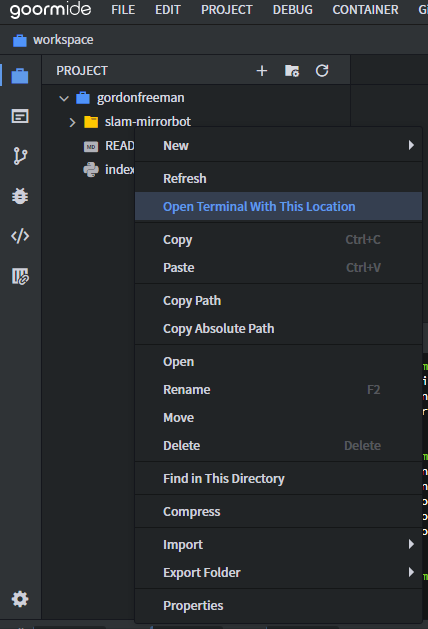
• Beware, sometimes the terminal in Goorm IDE restarts itself when you lose your connection for just a while or for no reason at all, so don’t forget to use slam-mirrorbot as the terminal location every time it gets restarted. The right directory is whether:
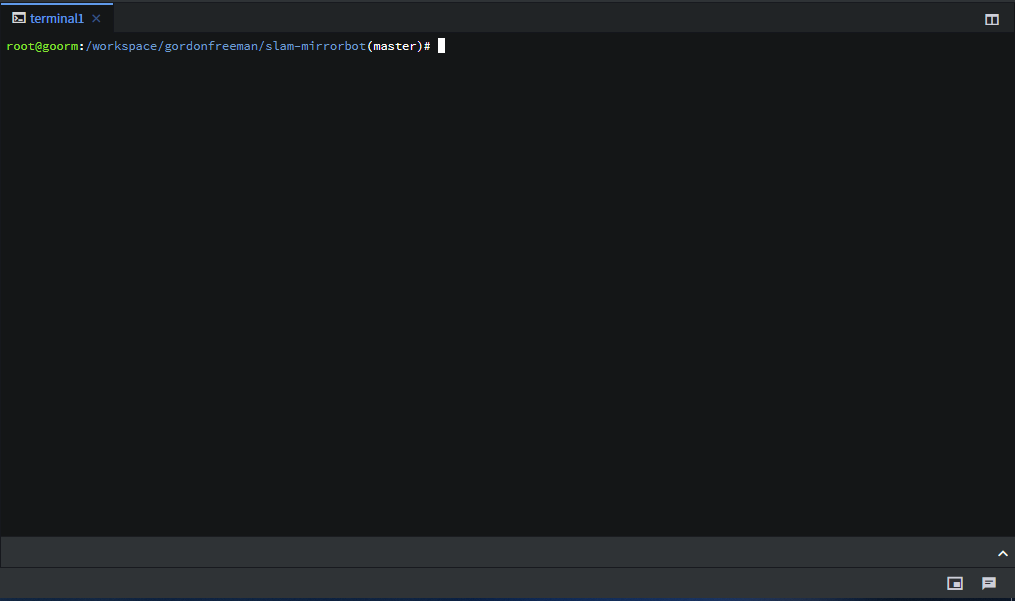
root@goorm:/workspace/container name/slam-mirrorbot#
or
root@goorm:/workspace/container name/slam-mirrorbot(master)#
8) A new terminal will be created, you can hide the former terminal if you want.
9) Let’s make a heroku app and connect the repo to the app too. (change appname value to whatever app name you want).
heroku create appname
heroku git:remote -a appname
heroku stack:set container -a appname
heroku addons:create heroku-postgresql


10) Okay, let’s generate the credentials and token file first.
• Run these commands (one by one)
pip3 install -r requirements-cli.txt
pip install google-api-python-client google-auth-httplib2 google-auth-oauthlib
• Wait until it’s done
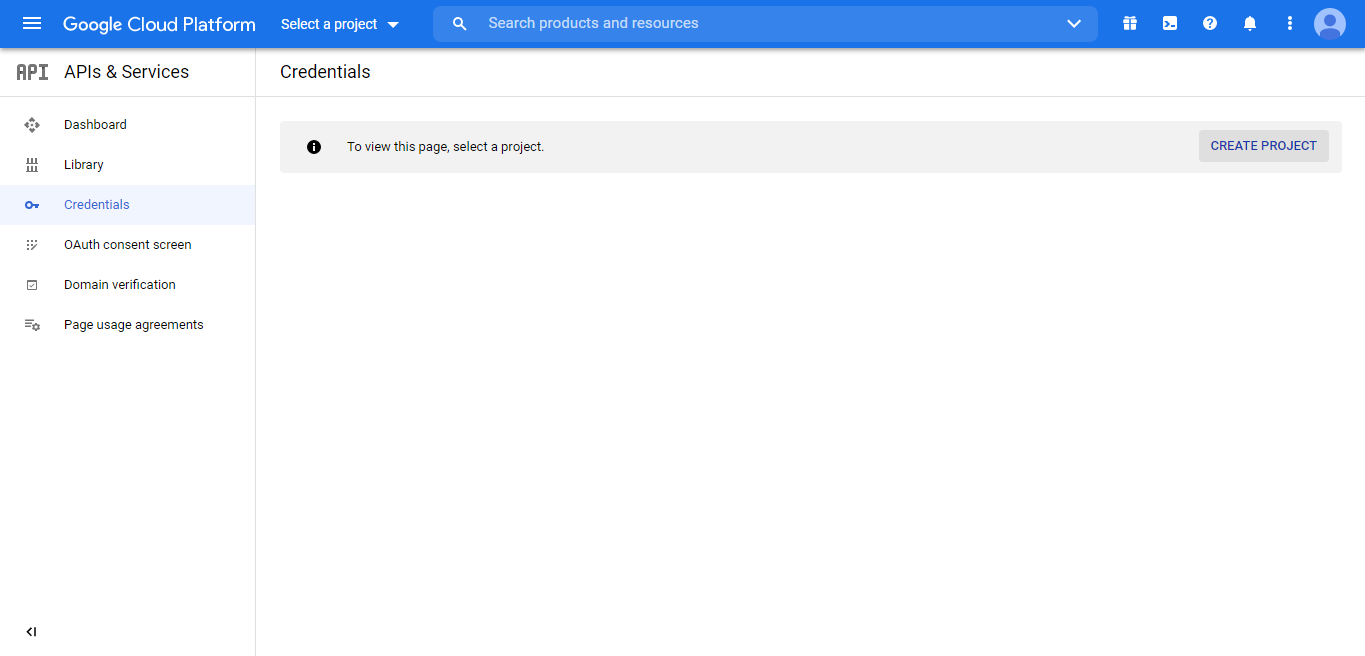
• Visit the Google Cloud Console
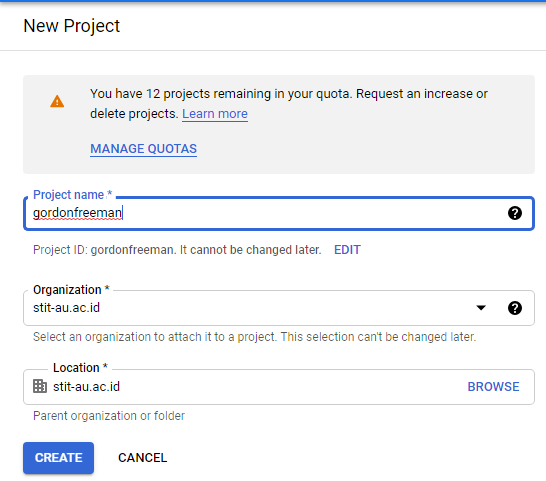
• Make sure you’re using the right google account, if you’re not, change it first. After that, press Create Project
• Name it whatever and press Create (I’m using edu mail here so the organization is present. If you’re using normal gmail, just set the organization to No organization)
• Go to the OAuth Consent tab
• Press external, and press Create
• Fill app name whatever you want
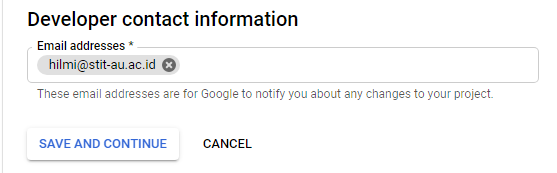
• Fill User support email and developer contact information with your google account, and ignore other configs. Press Save and Continue.

• Skip the scopes step
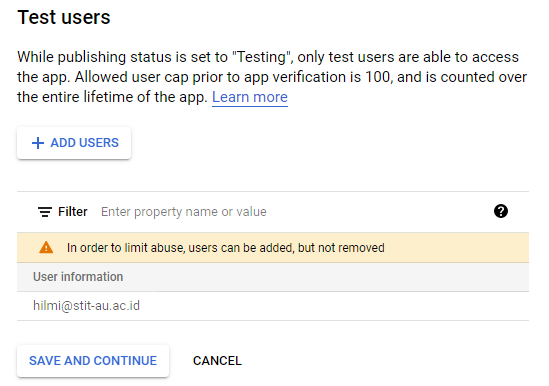
• Add your google account as tester, press Save and Continue
• Press back to dashboard
• Press Credentials tab > Create Credentials > OAuth client ID
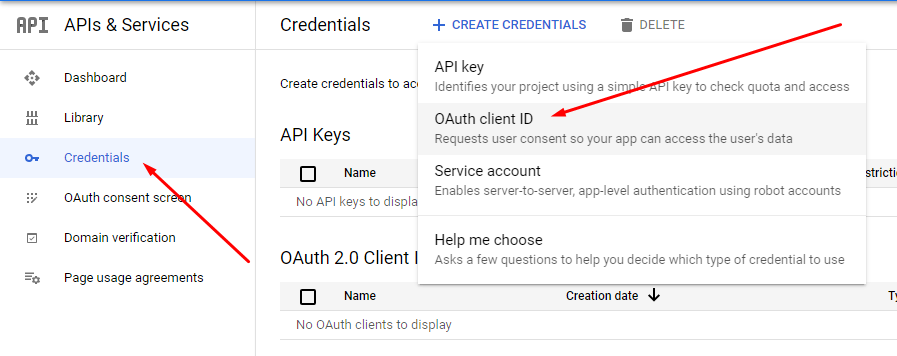
• Select Desktop and name it whatever you want
• This will appear, download it

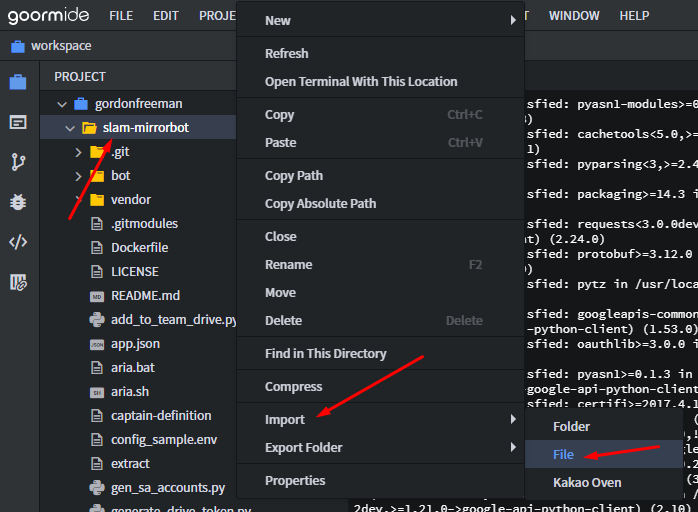
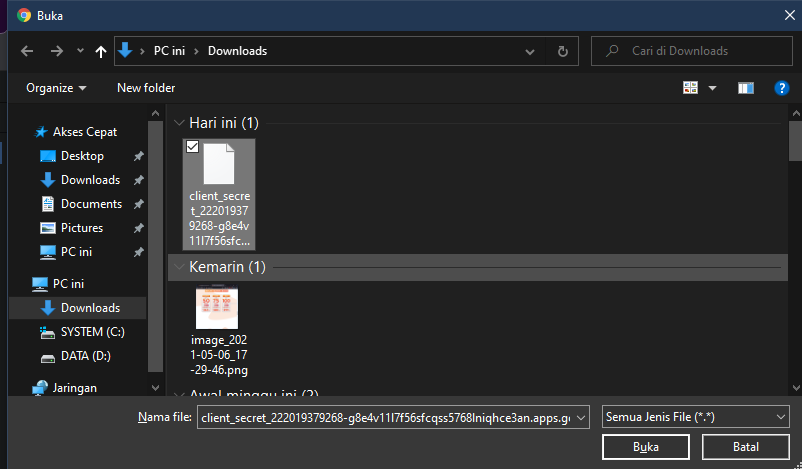
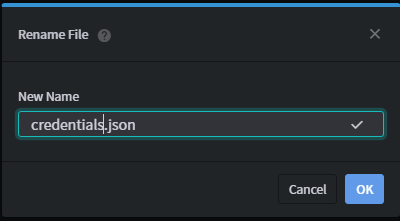
• Back to Goorm IDE tab, right click slam-mirrorbot > Import > File, select the credentials file you have downloaded

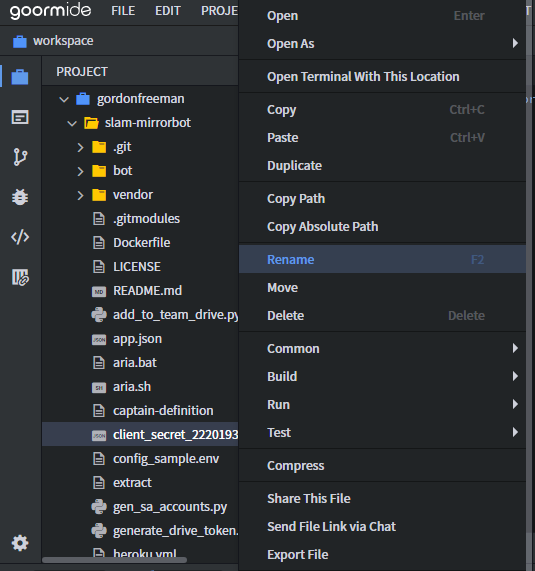
• Rename the file to credentials.json
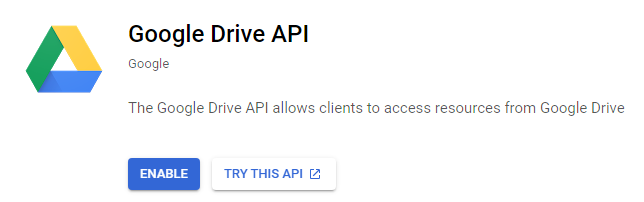
• Visit Google API page
• Search for drive
• Press Google Drive API and enable it

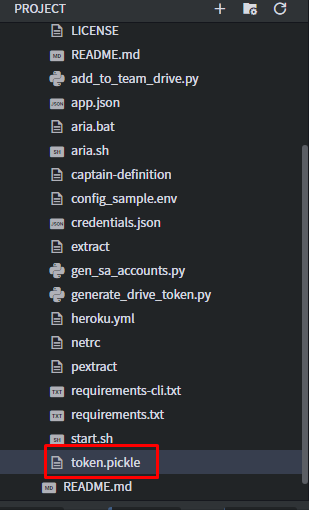
• Finally, run this command to generate token.pickle (one by one)
python -m pip install google-auth-oauthlib
python3 generate_drive_token.py
• Copy the link and open it in a new tab (never use CTRL+C in terminal)

• In the new tab, press your google account and you’ll get your authorization code. Copy that and paste to the terminal and press enter. Check if token.pickle is created. If somehow you got some error, check again if you have done all the generating credentials steps nicely, if you have, go to your OAuth screen settings and activate all the scopes and try running the python script again. If it still doesn’t work or your app is blocked, ask in the support group

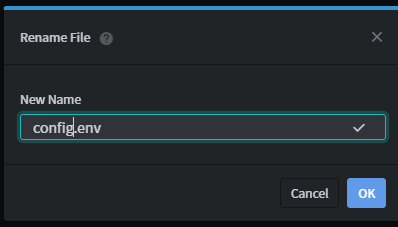
11) Now let’s edit the config of the bot. (I’m using config.env for configurations here. The only downside is that you need to redeploy/update the app every time you change the config, if you prefer heroku config vars, then just skip this and add manually all the vars in your heroku app’s config vars)
• Rename config_sample.env to config.env
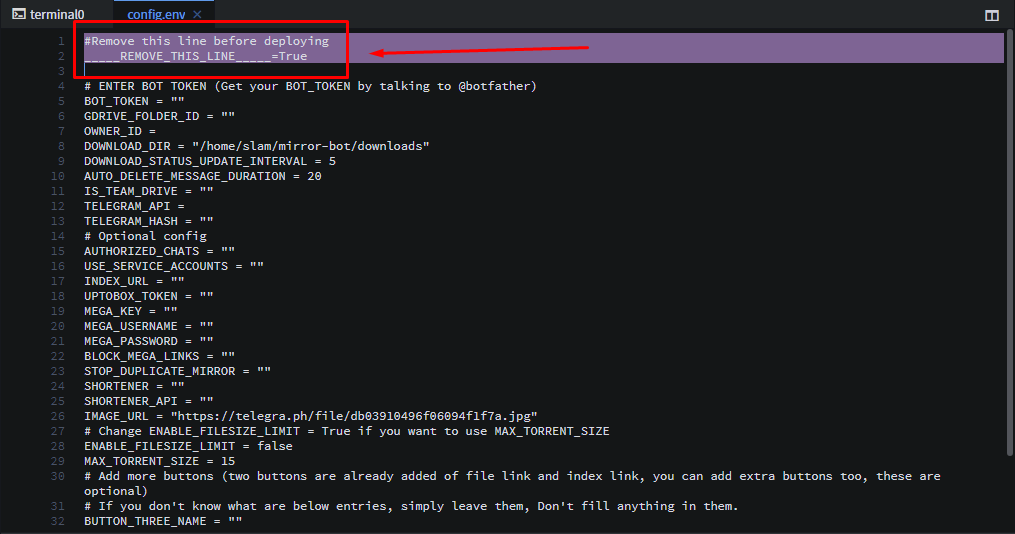
• Open config.env by double-click it
• Remove the first two lines of the file
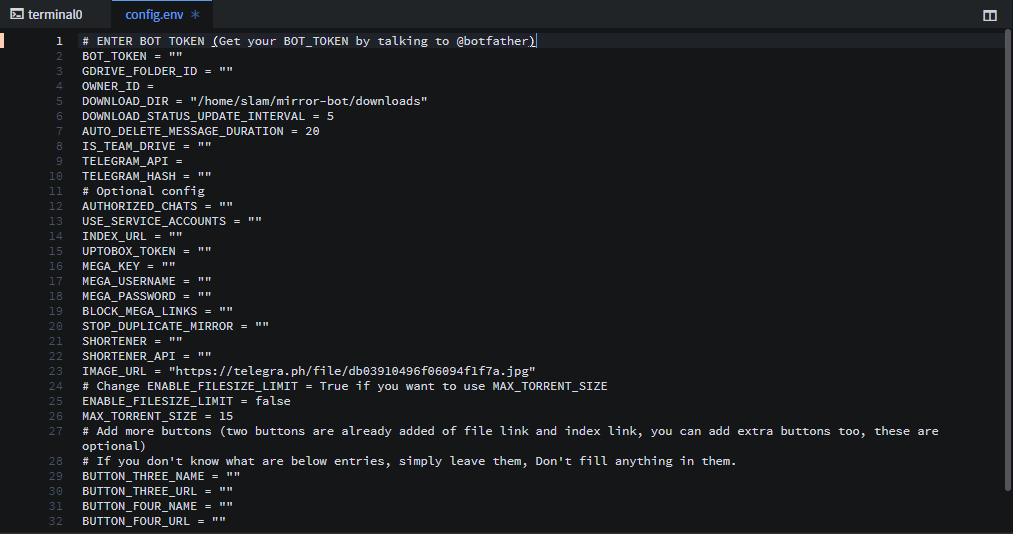
• Then fill the configs as per this page
• After you’ve done (remember that not all the configs need to be filled, so don’t worry), save the file by CTRL+S or Save button
12) This is the step where you edit the code before deploying. If you need something to edit from the repo, this is the time. If you don’t know anything, then skip this step.
13) Let’s deploy the bot. Please change the the values between < and >. Don’t change anything besides that. Make sure the terminal is running in slam-mirrorbot directory and run these commands one by one.
git add -f .
git config --global user.email "<your heroku email>"
git config --global user.name "<your name>"
git commit -m "First Deployment"
git push heroku master --force
14) Wait for the deployment, if you do all the things nicely, there won’t be any error.

15) Let’s restart the dyno, we need to do it every time we deploy/redeploy the app. The app will need some time to activate after using the activate command.
heroku ps:scale web=0 -a appname
heroku ps:scale web=1 -a appname
• You can check the whether the bot is running properly or not by using this log command. If you find Bot Started! in the log, then the bot is running properly (you may need to check it for a few times)
heroku logs
• P.S : Those commands can be used for deactivating and activating the dyno (bot):
Deactivate:
heroku ps:scale web=0 -a appname
Activate:
heroku ps:scale web=1 -a appname
16) Y̶o̶u̶ ̶m̶a̶y̶ ̶w̶a̶n̶t̶ ̶t̶o̶ ̶s̶e̶t̶ ̶t̶h̶e̶ ̶b̶o̶t̶ ̶c̶o̶m̶m̶a̶n̶d̶s̶,̶ ̶s̶e̶e̶ ̶t̶h̶i̶s̶ ̶h̶t̶t̶p̶s̶:̶/̶/̶g̶i̶t̶h̶u̶b̶.̶c̶o̶m̶/̶b̶r̶e̶a̶k̶d̶o̶w̶n̶s̶/̶s̶l̶a̶m̶-̶m̶i̶r̶r̶o̶r̶b̶o̶t̶#̶b̶o̶t̶-̶c̶o̶m̶m̶a̶n̶d̶s̶-̶t̶o̶-̶b̶e̶-̶s̶e̶t̶-̶i̶n̶-̶b̶o̶t̶f̶a̶t̶h̶e̶r̶.̶ ̶Y̶o̶u̶ ̶c̶a̶n̶ ̶s̶k̶i̶p̶ ̶t̶h̶i̶s̶ ̶t̶o̶o̶ ̶i̶f̶ ̶y̶o̶u̶ ̶d̶o̶n̶’̶t̶ ̶w̶a̶n̶n̶a̶ ̶o̶r̶ ̶d̶o̶n̶’̶t̶ ̶k̶n̶o̶w̶ ̶w̶h̶a̶t̶ ̶t̶h̶i̶s̶ ̶i̶s̶.̶ The latest commit makes the bot set its commands automatically, so skip this.
17) Let’s chat with the bot. Send /start to the bot. (or your own start command if you change it from bot/helper/telegram_helper/bot_commands.py)
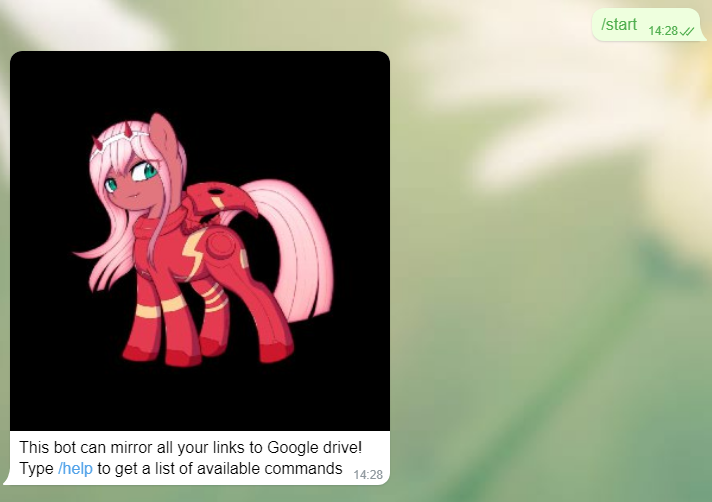
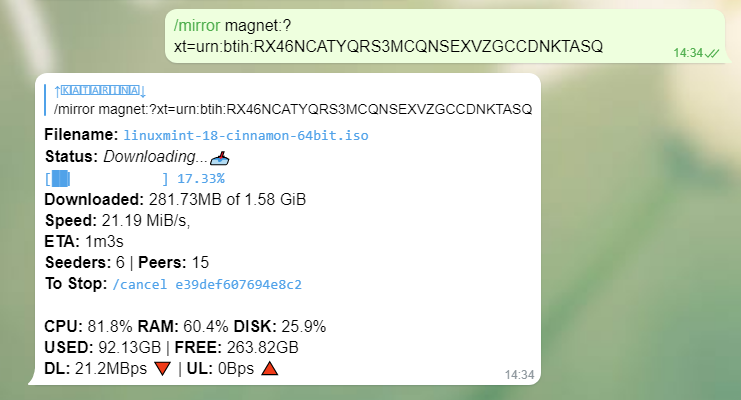
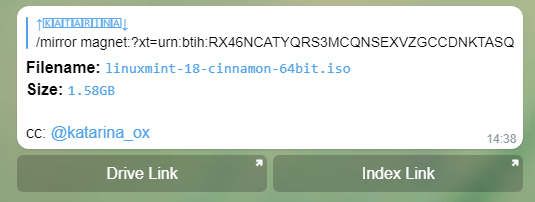
18) If the bot responds, then the bot is running. Let’s check the mirroring function by typing this: (if you change the mirror command, then use your own)
/mirror magnet:?xt=urn:btih:RX46NCATYQRS3MCQNSEXVZGCCDNKTASQ
• It may be slow when collecting seeders but it’ll be pretty quick after that, so wait for a few minutes. (if the torrent dies, you can use any distro from this site for testing: https://linuxtracker.org/index.php?page=toptorrents).

19) If the uploading process works, then the bot works nicely. If you wanna make more another bot, just copy credentials.json and token.pickle from the repo you’re using now to wherever you want. I also advise you, assuming you’re still using Goorm IDE method, to only use one container for one repo deployment to prevent conflicts in any way (more so if you’re a newbie).
#TUTORIAL 2
ADDING SERVICE ACCOUNTS
• Wanna bypass 750GB upload limit per day?
• The bot is always giving “Forbidden” after uploading?
This is where service accounts is needed!
Btw, this tutorial only works perfectly if you followed tutorial 1 to make your mirror bot. Don’t blame me if it doesn’t work for you when you didn’t follow tutorial 1 before.
Let’s dig the steps!
1) Open the terminal in slam-mirrorbot directory as always.
2) Make sure you still have credentials.json in the repo, it’s needed for generating service accounts. After that, run these commands (one by one).
python -m pip install progress
python3 gen_sa_accounts.py --quick-setup 1 --new-only
3) Copy the link and open it in a new tab, connect it to your google account, and paste the authorization code you just got.

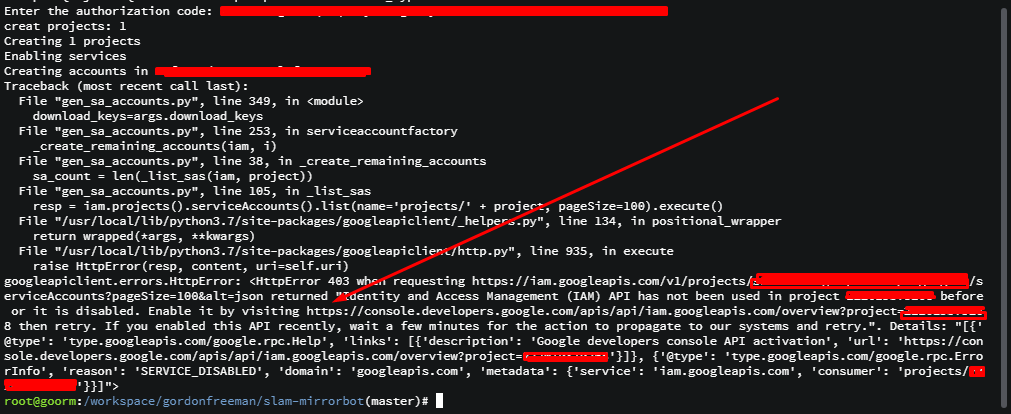
4) You’re bound to get this error since it’s the first time you’re making service accounts with that google account. Copy the link after Enable it by visiting and open it in a new tab.
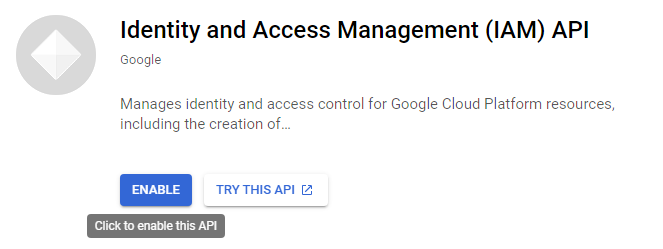
5) Enable it.
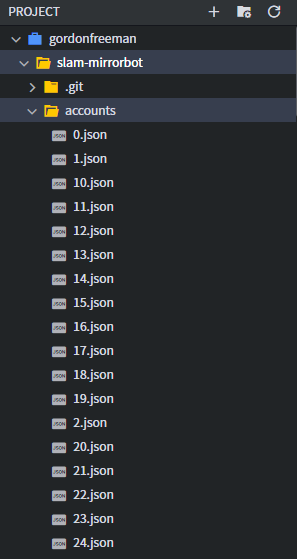
6) Generate the service accounts again by running this.
python3 gen_sa_accounts.py --quick-setup 1 --new-only
7) Wait, and voila, you’ll get an accounts folder with all the service accounts credentials files. You can use these service accounts as long as you add to team drive (in the next step), you can use it in many team drives and you don’t have to generate the service accounts again (except you need more than 100 service accounts, if you don’t know what this means then just don’t).
8) Let’s add all the service accounts to your team drive by running this:
python3 add_to_team_drive.py -d <your team drive ID>
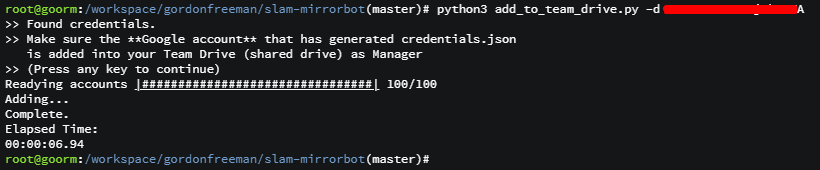
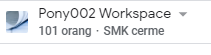
• You may check your team drive in order to see whether the service accounts are added or not. If it’s added by 100 people, then it works. You can check the members too.
9) Let’s change the config so that the bot knows that we’re using service accounts and they can be used. Open config.env and set USE_SERVICE_ACCOUNTS var to True. And save it.

10) Let’s go to tutorial 3 since we’re changing the things in the repo, we need to redeploy the app every time there’s a change in our repo.
11) After redeploying, check whether the uploading process works or not, if it works, then you succeeded to apply service accounts to the bot. The next time you need service accounts for another bot, just copy accounts folder from the repo you’re using now and paste it to wherever you want.
#TUTORIAL 3
UPDATING OR REDEPLOYING THE APP
• After adding your service accounts?
• You edited your config file or any code from the repo?
• You edited just a single line or a single letter from the repo?
You need to redeploy!
Every single change in the repo needs to be redeployed to apply it to your heroku app.
Let’s freaking go!
1) You must have changed something from the repo first. Then open the terminal in slam-mirrorbot directory as always.
2) Deactivate your app first before redeploying, run this.
heroku ps:scale web=0 -a appname
3) Do this to save any changes in the repo.
git add -f .
git commit -m "whatever commit name you want"
4) Push the code to heroku with this code.
git push heroku master --force
5) After pushing, restart the dyno.
heroku ps:scale web=0 -a appname
heroku ps:scale web=1 -a appname
6) The app should take the effect from the pushing and any changes will be applied to the app!
That’s it guys, hope this will help you! 

#FIXING GIT ERRORS
If somehow the CLI shows you some git errors when you try to do git add, git commit, or git push, do these in the mirror bot directory. This may fix that.
Do these one by one and change yourappname to your heroku app name.
rm -rf .git
rm .gitignore
git init
git add -f .
git commit -m "First commit"
heroku git:remote -a yourappname
git push heroku master --force
That’s it!
Post a Comment